
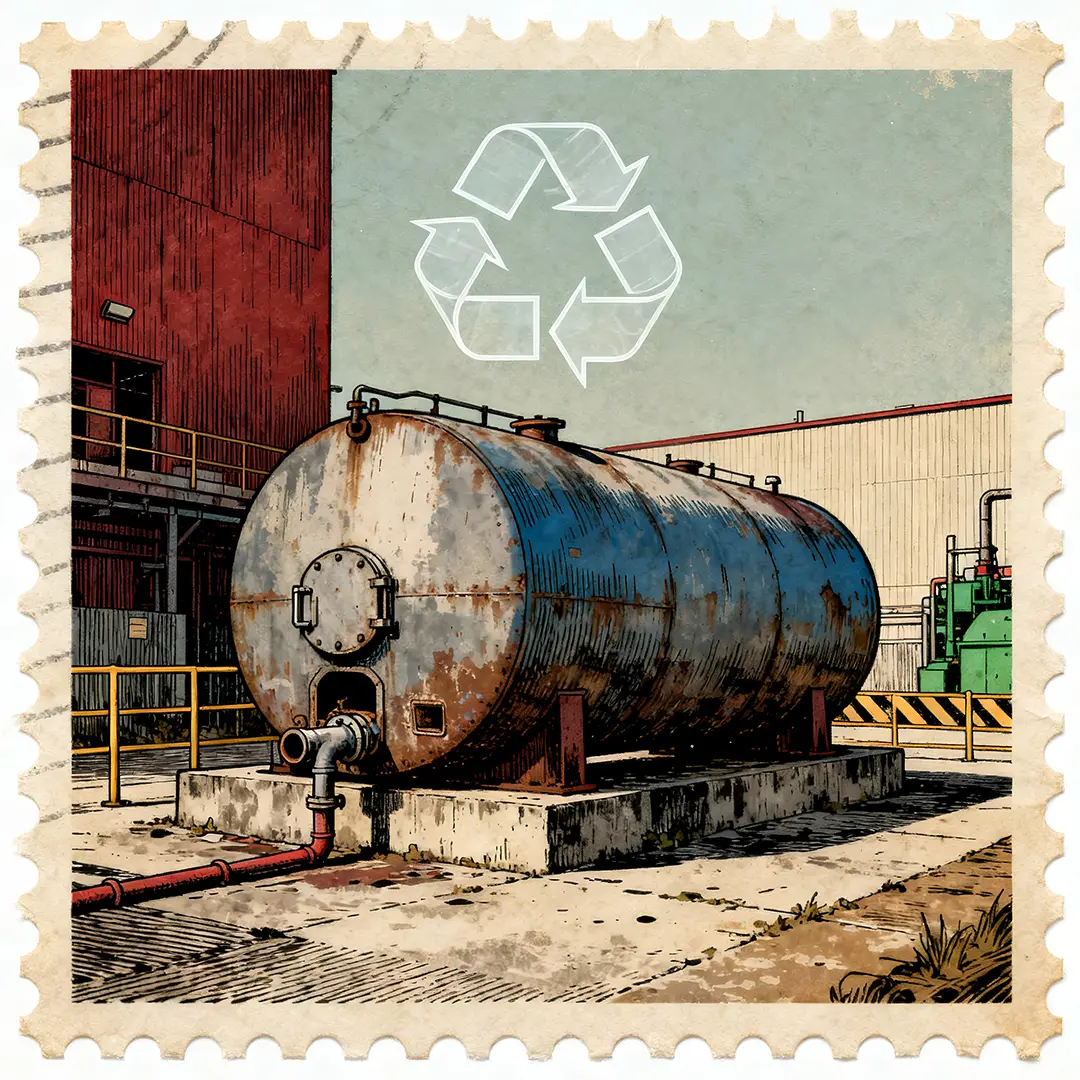
Oil tank removal is a controlled, multi-stage process designed to eliminate environmental risk, ensure regulatory compliance and protect surrounding property.
Oil tanks are classified as hazardous until professionally cleaned and certified gas free. Removal must follow structured procedures to manage fuel residues, vapours and waste safely.
This guide explains how the oil tank removal process works in practice.
1. Site Survey and Risk Assessment
Every oil tank removal begins with an initial site assessment.
This stage confirms:
- Tank size and construction
- Location (above ground or underground)
- Remaining fuel or sludge
- Access constraints
- Structural condition
- Proximity to buildings and services
- Environmental risk factors
A risk assessment is prepared before works commence.
For broader removal capability, see our Tank Removal page.
2. Isolation of Pipework and Systems
Before the tank is handled, all connected pipework, vent lines and fuel supply lines are isolated and disconnected safely.
This prevents accidental discharge during the removal process.
3. Drainage of Remaining Fuel
Any remaining heating oil or fuel is drained using controlled pumping equipment.
Recovered fuel may be transferred for reuse where uncontaminated. Contaminated fuel is removed for compliant disposal in line with environmental regulations.
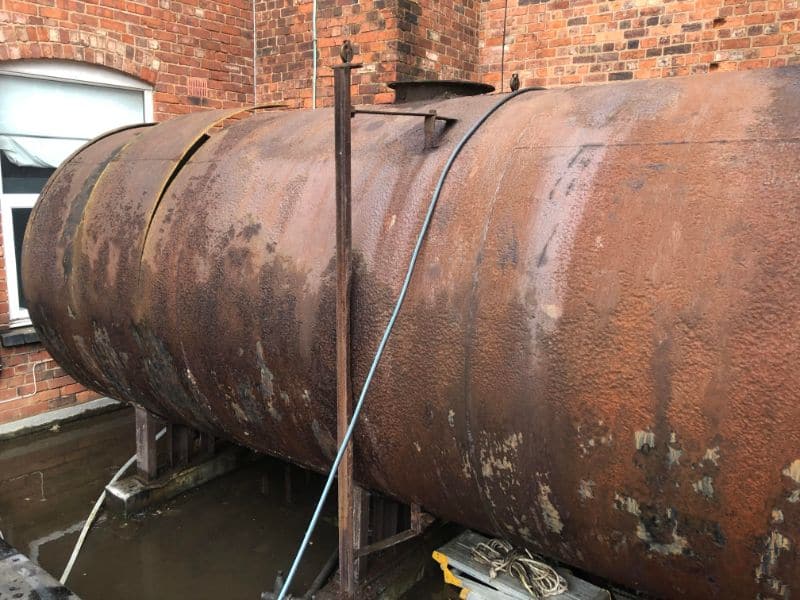
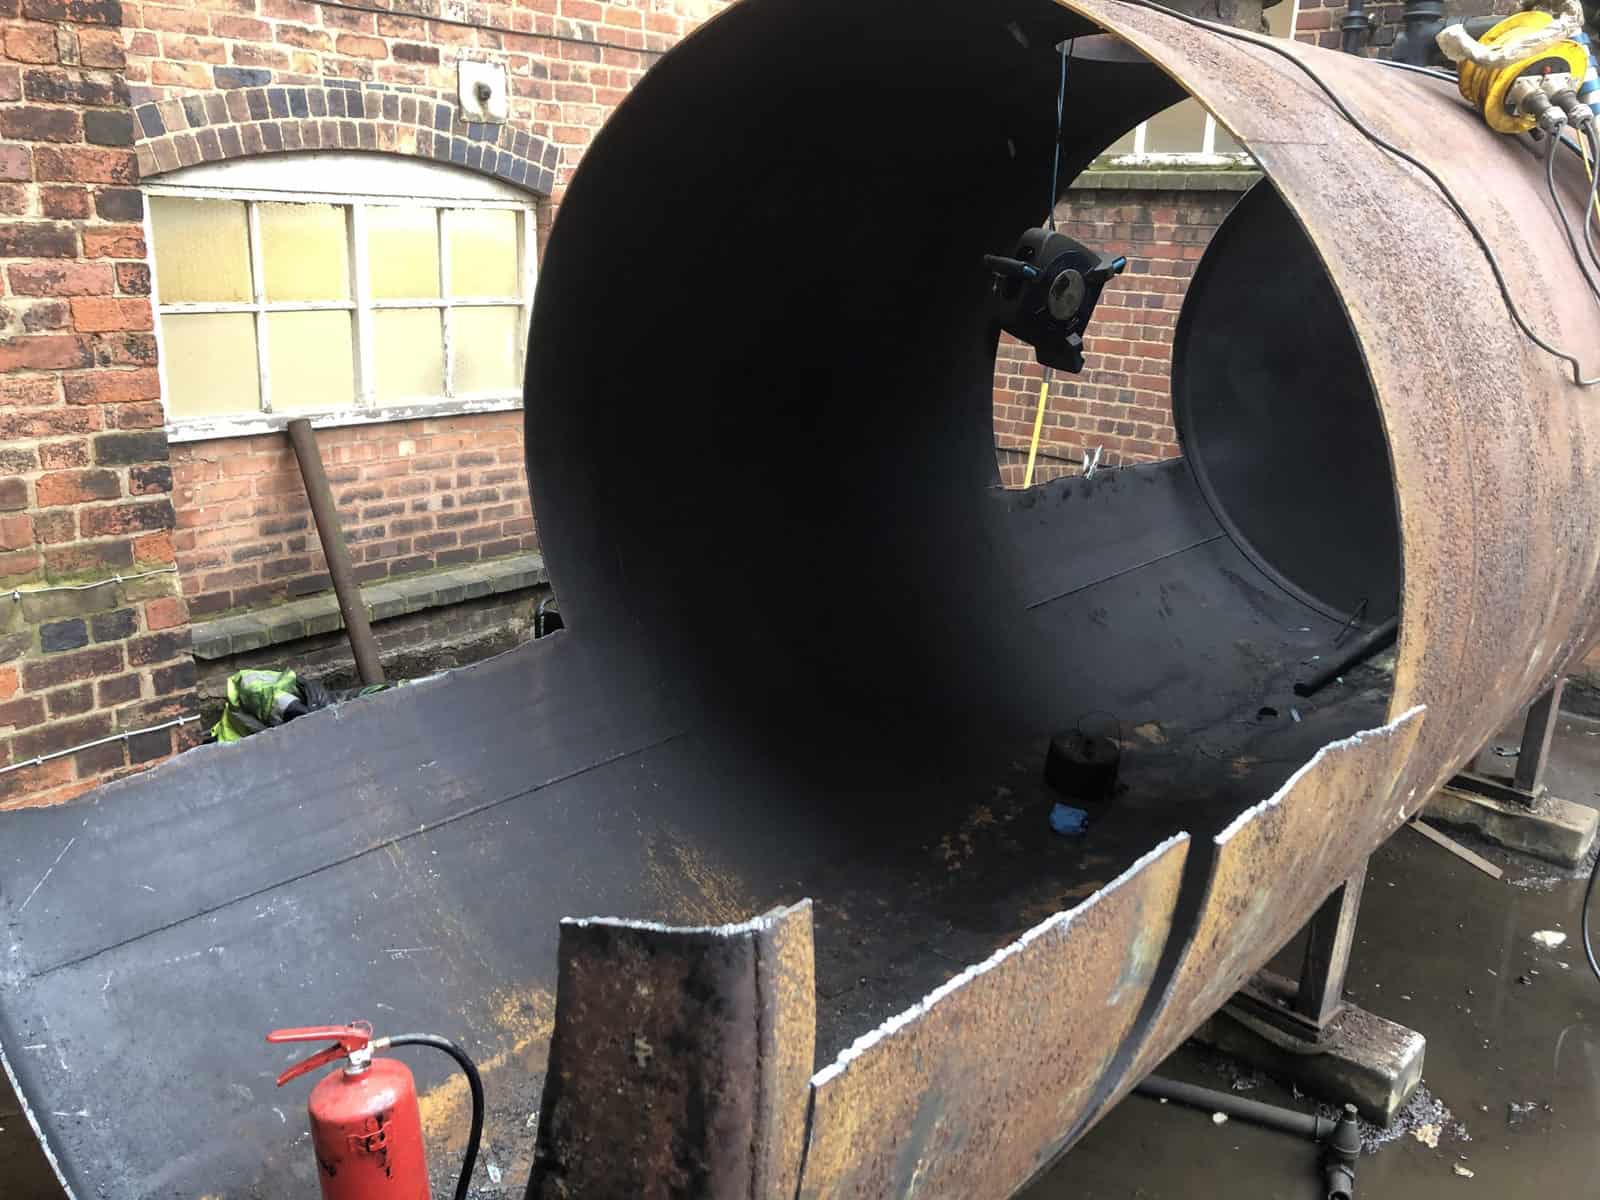
4. Tank Cleaning and Sludge Removal
Oil tank cleaning is essential before dismantling.
This stage includes:
- Removal of sludge and residues
- Cleaning internal surfaces
- Vapour reduction
- Safe handling of hazardous waste
Oil tanks must be cleaned and purged before cutting or lifting.
For further details, see our guidance on why tanks must be cleaned and gas freed before removal.
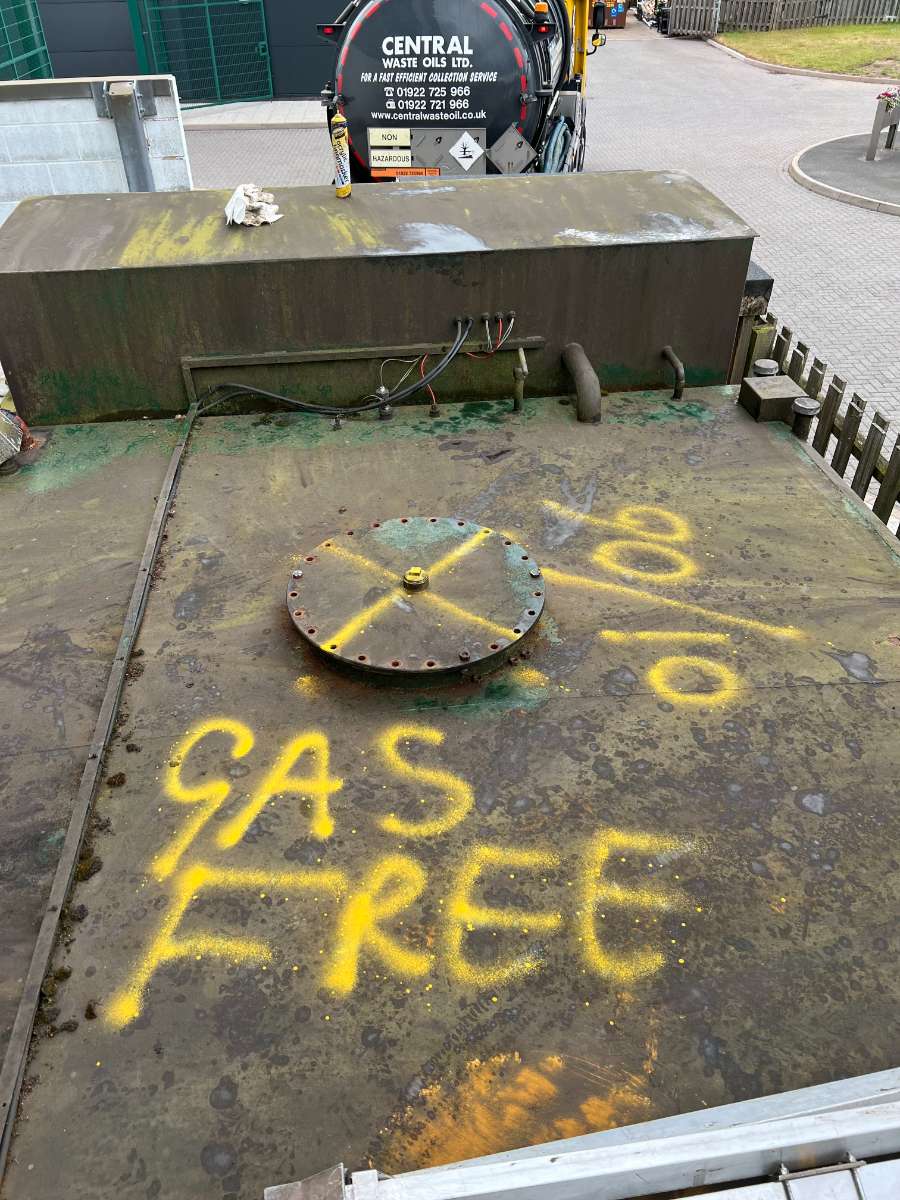
5. Gas Free Certification
Following cleaning, atmospheric testing is carried out.
A gas free certificate confirms that flammable vapours have been eliminated and the tank can be worked on safely.
For formal certification services, see Gas Free Certification for Industrial Tanks.
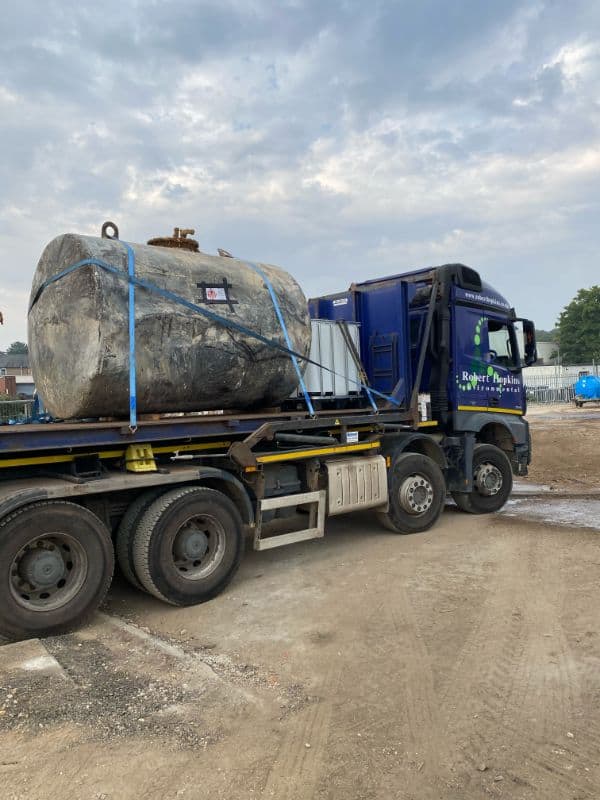
6. Dismantling or Excavation
The method of removal depends on tank location and access.
Above Ground Tanks
Above ground tanks are typically dismantled or lifted intact where access allows.
Underground Tanks
Underground tank removal requires controlled excavation. Once exposed, the tank is lifted or cut into sections for safe extraction.
The surrounding ground is inspected for signs of contamination.
7. Waste Handling and Disposal
All materials removed during tank removal are classified and managed appropriately.
This includes:
- Tank shell material
- Sludge and residues
- Contaminated soil, where applicable
Licensed carriers transport waste to authorised recycling or disposal facilities.
Further information is available in our guide to waste disposal during tank removal.
8. Reinstatement and Documentation
Following removal, the excavation area may be backfilled and reinstated where required.
Documentation provided may include:
- Gas free certification
- Waste transfer notes
- Method statements
- Confirmation of compliant disposal
This ensures a clear audit trail for property owners and businesses.
How Long Does Oil Tank Removal Take?
Duration depends on tank size, location and site complexity.
Above ground domestic tank removal may be completed within a single day where access is straightforward.
Underground tanks and contaminated sites may require additional time due to excavation and environmental inspection.
Why Professional Removal Is Essential
Improper oil tank removal can result in:
- Environmental contamination
- Fire and vapour hazards
- Regulatory enforcement
- Increased remediation costs
Professional tank removal ensures compliance with environmental regulations and health and safety standards.
If you require pricing considerations, see our Oil Tank Removal Cost Guide.


